Start with Trezor: Your First Steps to Ultimate Security
Welcome to Trezor, the original hardware wallet that has protected cryptocurrencies since 2013. Whether you've chosen the touchscreen Trezor Model T or the button-operated Trezor Safe 3, this guide will help you transform your device into an impregnable vault for your digital assets.
Before You Begin: Verify Your Purchase
Your security chain begins with device authenticity. Ensure you purchased from:
-
Official Trezor Shop (recommended)
-
Authorized resellers listed on our website
Check for intact holographic seals on your package. If anything looks compromised, contact support immediately before proceeding.
The 3-Step Setup: Simple, Secure, Sovereign
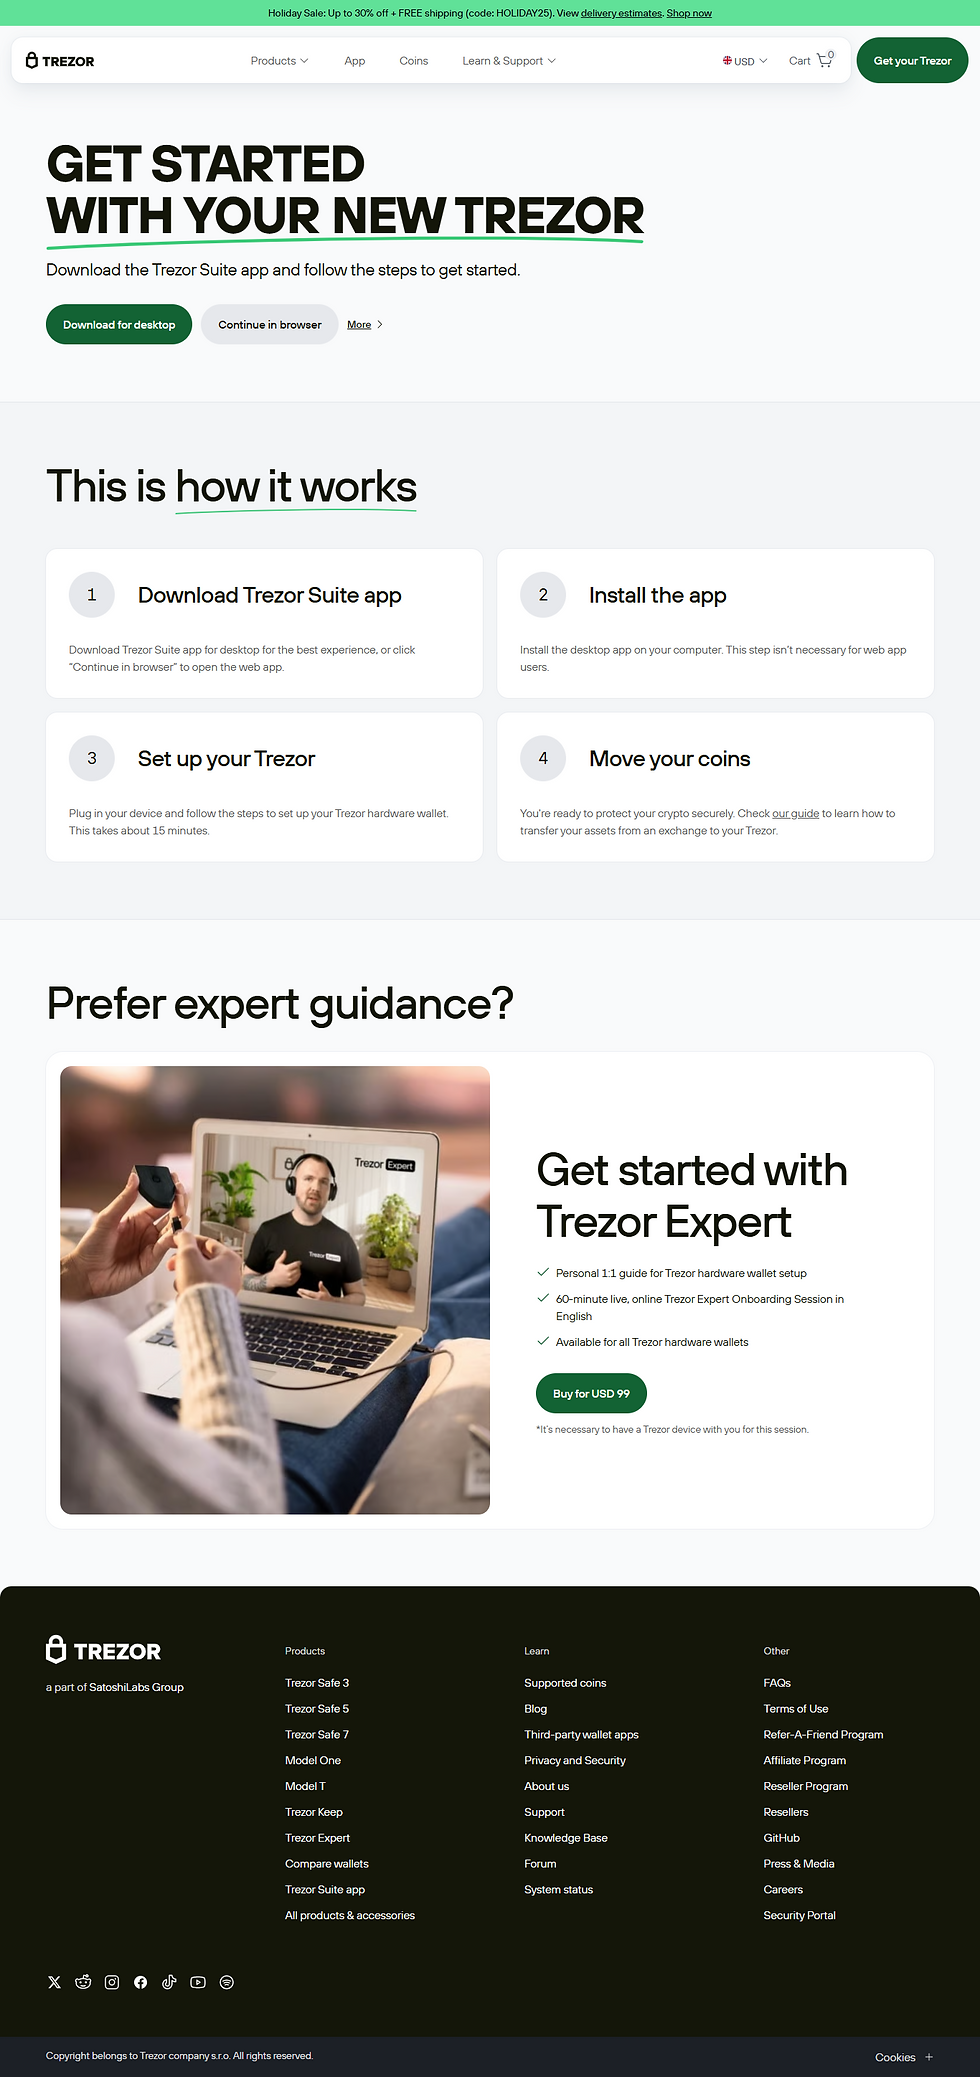
Step 1: Install Trezor Suite & Connect
Trezor Suite is your secure command center for managing all your crypto assets.
What to do:
-
Visit suite.trezor.io
-
Download the desktop application (recommended for full features) or use the web version
-
Connect your Trezor using the included USB cable
-
Follow the on-screen instructions in Suite
Important Security Notes:
-
Always verify you're on the official trezor.io domain
-
Bookmark legitimate sites to avoid phishing attempts
-
Never enter your recovery seed anywhere online
Step 2: Create Your Recovery Seed Backup
This is the most critical step in securing your cryptocurrency. Your recovery seed is the master key to everything in your wallet.
The Process:
-
Firmware Installation: Suite will install the latest security updates
-
Seed Generation: Your Trezor will generate a unique sequence of:
-
12, 18, or 24 random words
-
-
Backup Creation:
-
Write these words by hand on the included recovery cards
-
Double-check each word for accuracy
-
Never store digitally—no photos, cloud storage, or text files
-
-
Verification: Confirm your backup by selecting words in the correct order
Storage Best Practices:
-
Create multiple copies on durable materials
-
Store in separate, secure locations
-
Consider fireproof and waterproof solutions
-
Tell trusted family members how to access (without revealing the seed itself)
Step 3: Finalize with PIN & Personalization
Add physical device protection and customization.
Complete Your Setup:
-
Set a Strong PIN:
-
Minimum 4 digits (longer is more secure)
-
Use the randomized keypad on your Trezor screen
-
This prevents keyloggers from capturing your PIN
-
-
Name Your Device:
-
Choose a recognizable name for multiple-device management
-
Examples: "Primary Vault," "Trading Wallet," "Savings"
-
-
Access Your Dashboard:
-
You'll enter Trezor Suite's main interface
-
Your hardware wallet is now active and secure
-
Now That You're Set Up: Explore Your Wallet's Potential
Basic Operations
Receiving Funds:
-
In Trezor Suite, select your desired cryptocurrency
-
Click "Receive"
-
Always verify the address on your Trezor screen
-
Share the address with the sender
Sending Funds:
-
Click "Send" in Suite
-
Enter the recipient address and amount
-
Confirm all details on your Trezor's display
-
Approve the transaction
Advanced Features to Discover
Hidden Wallets (Passphrase):
-
Add an extra word to your recovery seed
-
Creates completely separate wallets
-
Provides plausible deniability
-
Accessed via Settings > Device > Passphrase
Staking & Earning:
-
Stake supported assets directly from cold storage
-
Earn rewards while maintaining full control
-
Currently supports: ETH, ADA, XTZ, and more
DeFi & Web3 Integration:
-
Connect to decentralized applications safely
-
Use WalletConnect or MetaMask integration
-
Always verify contract interactions on your device screen
Coin Control & Privacy:
-
Manage UTXOs for Bitcoin privacy
-
Label transactions and addresses
-
Export reports for tax purposes
Why This Setup Is Trusted by Millions
Security Principles Embedded in Your Setup
1. Offline Key Generation
Your private keys were created in the secure element of your Trezor device, completely isolated from internet-connected devices.
2. Visual Verification
Every critical action—from PIN entry to transaction approval—requires confirmation on your Trezor's display, protecting against compromised computers.
3. Open-Source Transparency
All Trezor software is open-source, allowing independent security audits by experts worldwide.
4. No Single Point of Failure
-
Device + PIN protects physical access
-
Recovery seed allows complete restoration
-
Optional passphrase adds extra security layers
Ongoing Security Practices
Regular Updates:
-
Trezor Suite automatically notifies of firmware updates
-
Always update when prompted
-
Updates never require your recovery seed
Backup Maintenance:
-
Periodically verify your recovery seed storage
-
Update storage methods as needed
-
Consider inheritance planning solutions
Troubleshooting Common Setup Issues
Device Not Recognized:
-
Try a different USB cable and port
-
Restart Trezor Suite
-
Ensure you're using the latest firmware
Forgotten PIN:
-
Use your recovery seed to restore your wallet
-
This will allow you to set a new PIN
-
All funds remain accessible with your seed
Lost Recovery Seed:
-
If device is still accessible, immediately transfer funds to a new wallet
-
Create a new backup following the setup process
-
If device is lost without backup, funds cannot be recovered
Frequently Asked Questions
1. Can I use multiple cryptocurrencies on one Trezor device?
Yes, Trezor supports over 8,000 coins and tokens. You can manage Bitcoin, Ethereum, ERC-20 tokens, and many other assets simultaneously through Trezor Suite. Each cryptocurrency generates its own derived addresses from your single recovery seed.
2. What happens during a firmware update? Do I need my recovery seed?
Firmware updates enhance security and add features. Regular updates don't require your recovery seed. However, before any major update, we recommend ensuring your recovery seed is accessible. The update process is guided through Trezor Suite and your device screen.
3. Can I recover my Trezor wallet on a different brand's hardware wallet?
Yes, if the other wallet supports the BIP39 standard (most do). Your recovery seed is portable across compatible wallets. However, for optimal security, we recommend using another Trezor device to ensure all security features are maintained.
4. Is Trezor Suite mandatory, or can I use other wallet interfaces?
While Trezor Suite offers the complete experience with the highest security integration, you can use your Trezor with:
-
Electrum for Bitcoin
-
MetaMask for Ethereum and EVM chains
-
Other BIP39-compatible software
Always ensure any third-party software is legitimate and never enter your recovery seed.
5. How does the Trezor Model T differ from Trezor Safe 3 in setup?
The core security principles and setup process are identical. The main differences:
-
Model T: Uses touchscreen for PIN, passphrase entry, and confirmation
-
Safe 3: Uses physical buttons for navigation and confirmation
Both provide the same military-grade security for your private keys.
6. What should I do if I suspect my recovery seed was compromised?
Immediately:
-
Transfer all funds to a new, secure wallet (preferably another Trezor)
-
Generate a completely new recovery seed for your device
-
Never use the compromised seed again
This is why secure, offline storage is non-negotiable.
Next Steps & Resources
Enhance Your Security:
-
Enable SSH and GPG for developer security
-
Explore Trezor Password Manager for secure credential storage
-
Set up U2F for two-factor authentication
Get Help:
Stay Updated:
-
Follow @Trezor on Twitter
-
Subscribe to our Security Bulletin
-
Join our Beta Testing Program
Your Journey to True Financial Sovereignty Has Begun
By completing this setup, you've taken the most important step in securing your digital wealth. You now control your private keys, which means you truly own your assets—not a bank, not an exchange, not a third party.
Remember: With great sovereignty comes great responsibility. Guard your recovery seed, keep your firmware updated, and always verify transactions on your device screen.
Welcome to the secure side of cryptocurrency. Welcome to Trezor.